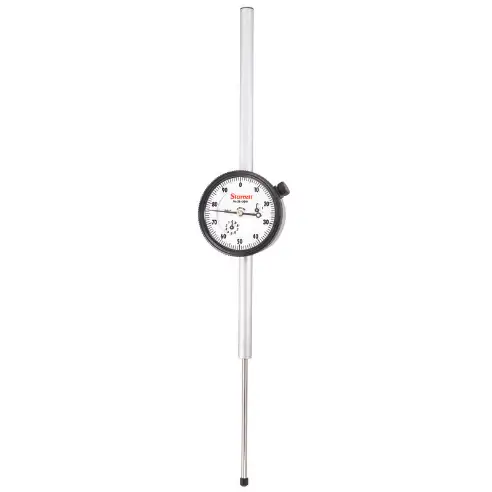
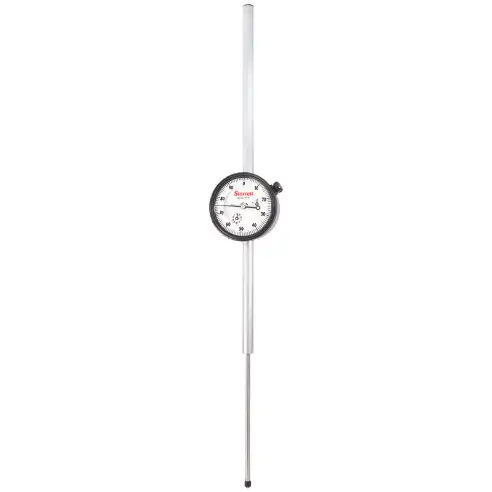
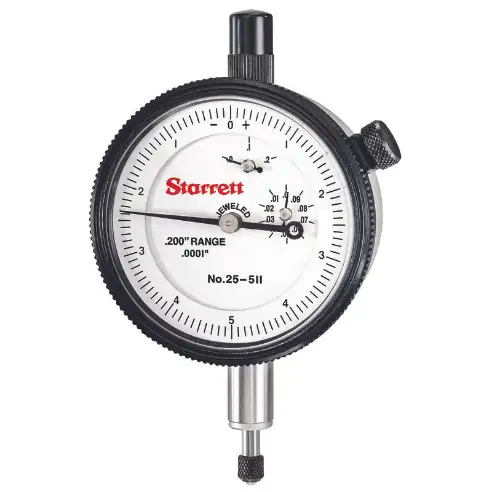
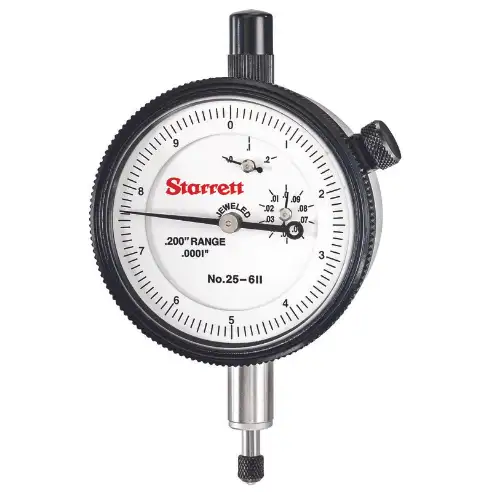
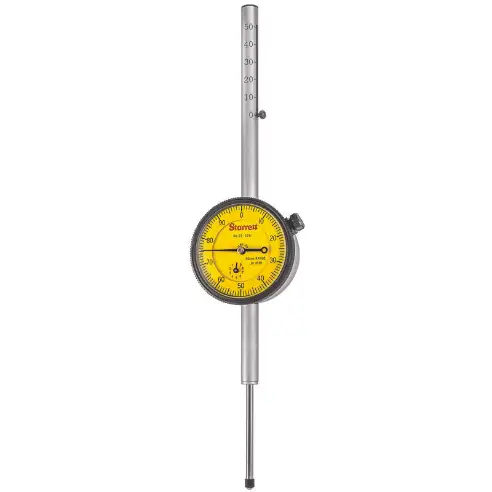
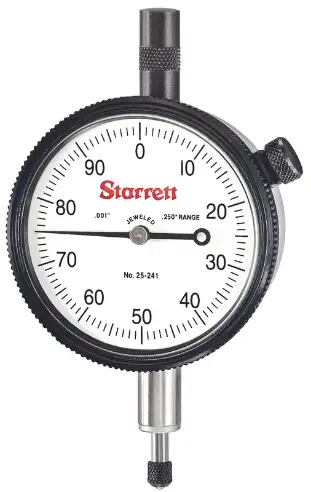
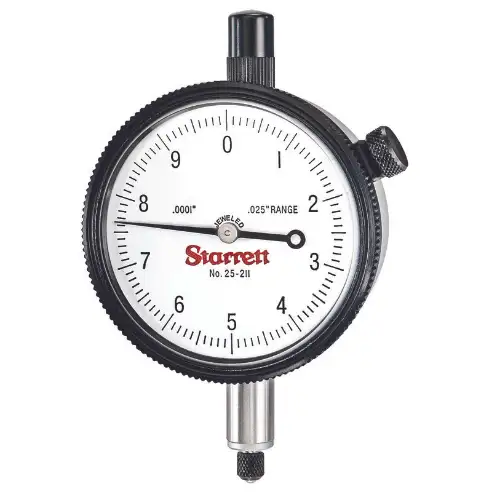
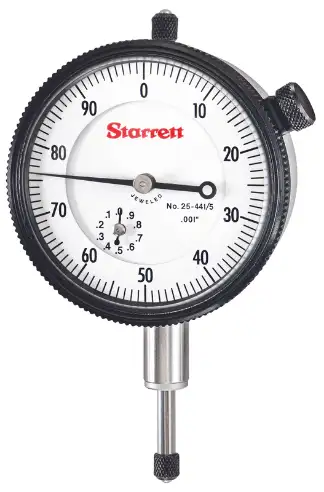
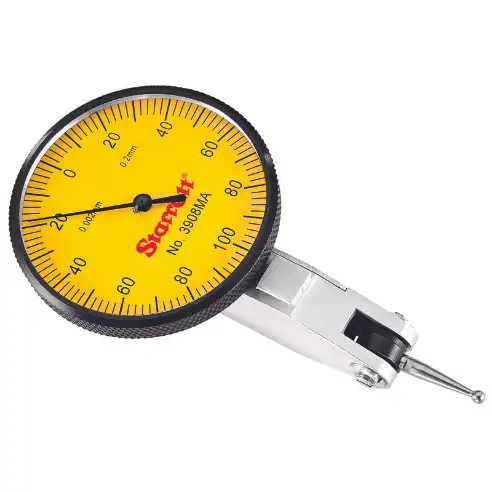
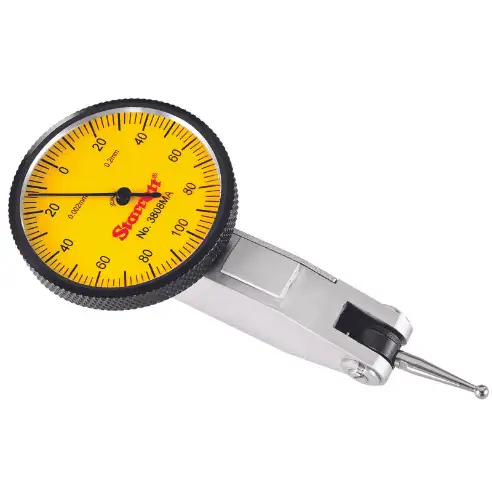
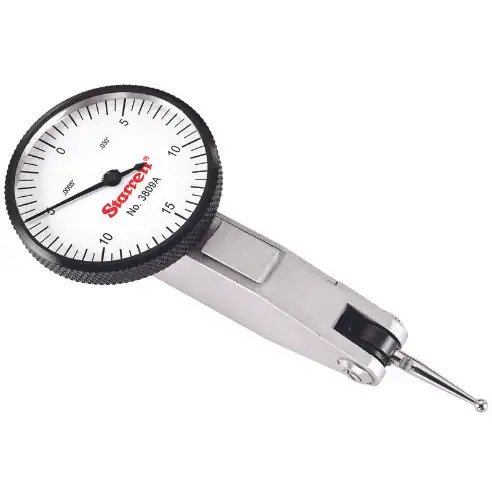
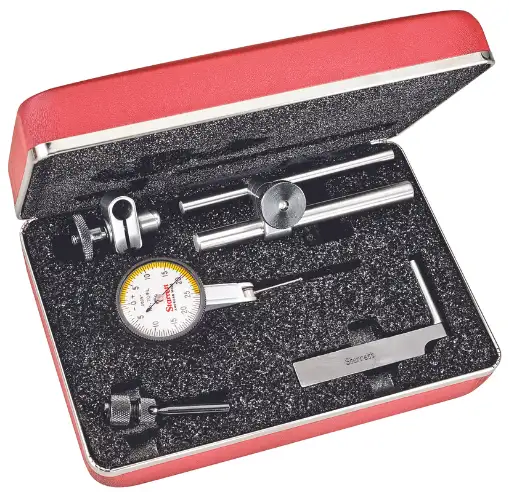
STARRETT Dial Indicators

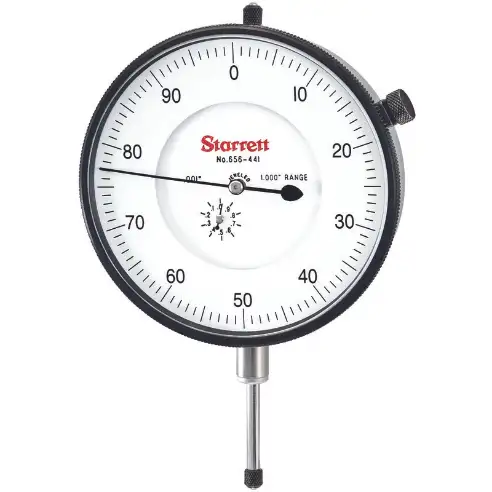
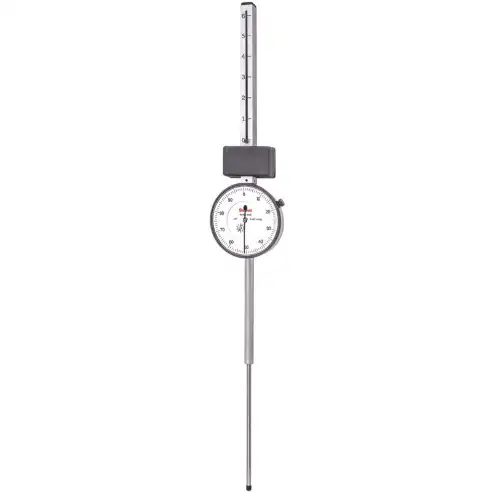
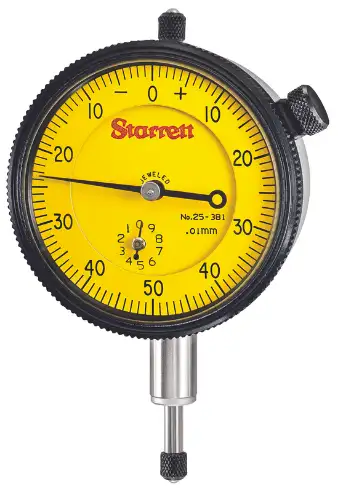
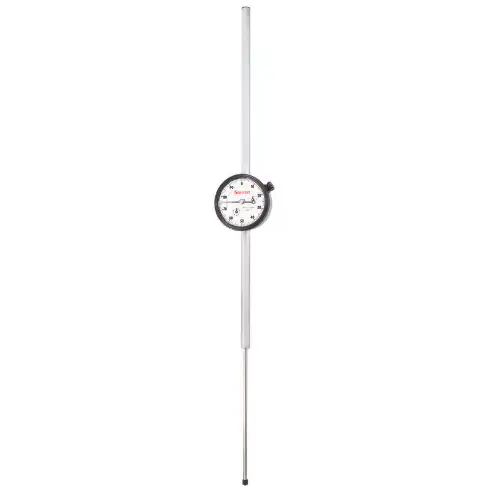
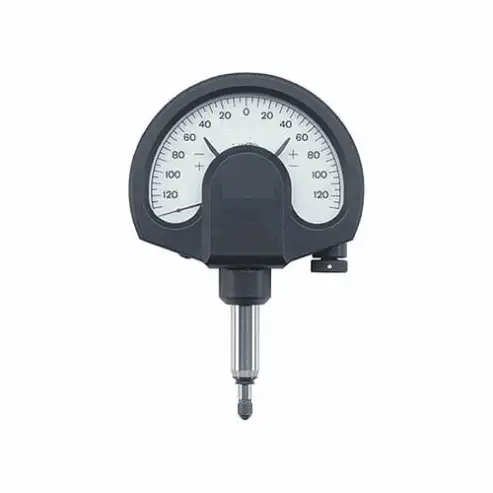
These dial indicators are used to measure small distances & angles, and translate them into rotational movement of the dial. They are available in graduations ranging from 0.00005 to 0.001 inches in the imperial system and 0.001 to 0.01 mm in the metric system.

Filter

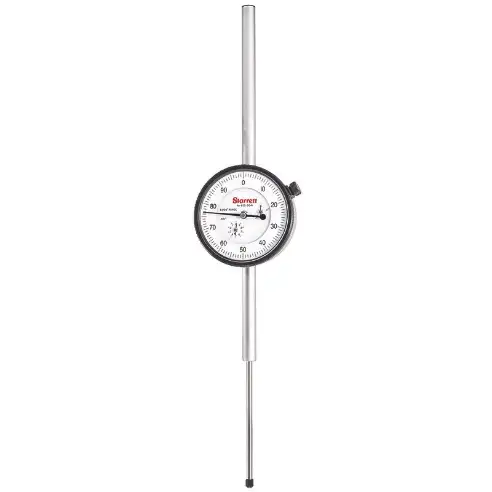
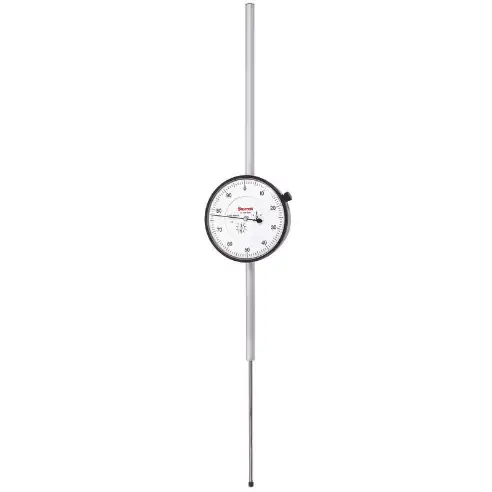
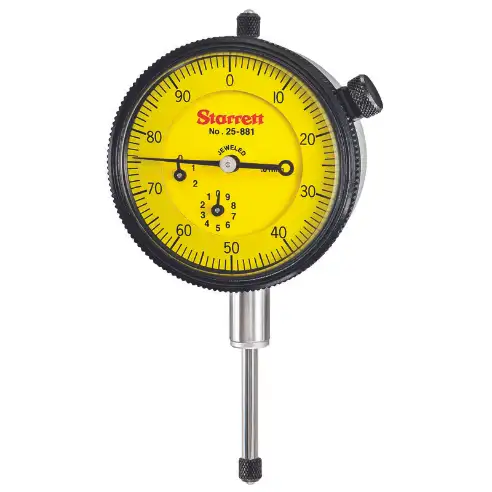
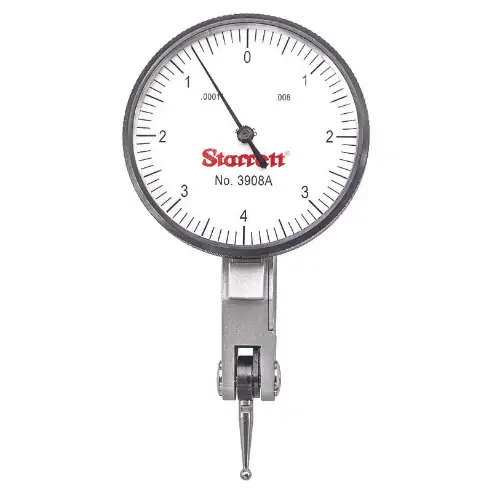
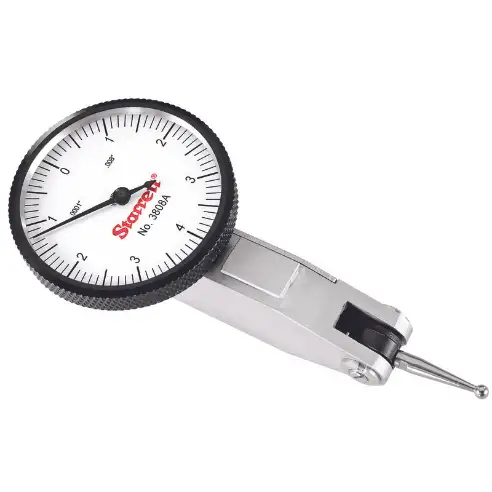
Starrett dial indicators, also called plunger-style dial indicators or dial drop indicators, are designed to convert small linear distances and angles into rotational movement to calculate dimensions... Read More

STARRETT -

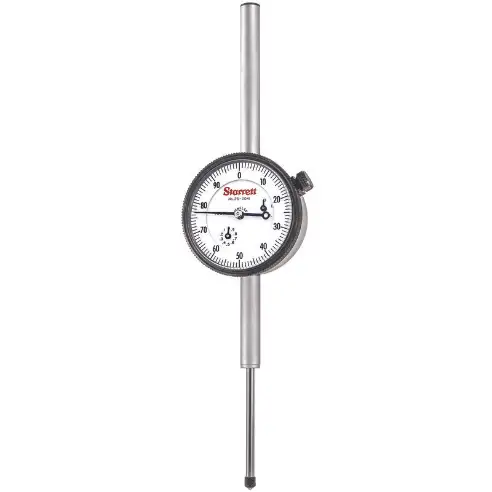
25 Series Dial Indicators

StyleModelBezelDial SizeGraduationsRangePrice (inc. GST)
A25-2041J-2.25"0.001"0 to 2"A$ 996.55
B25-4041J-2.25"0.001"0 to 4"A$ 1534.82
C25-611J-2.25"0.0001"0 to 0.2"A$ 1078.12
D25-2081J-2.25"0.01mm0 to 50mmA$ 1048.94
E25-141J-2.25"0.001"0 to 0.25"A$ 543.59
F25-3041J-2.25"0.001"0 to 3"A$ 1360.44
G25-511J-2.25"0.0001"0 to 0.2"A$ 1076.89
H25-241J-2.25"0.001"0 to 0.25"A$ 572.18
I25-211JAdjustable2.25"0.0001"0 to 0.025"A$ 746.77
J25-341/5JAdjustable2.25"0.001"0 to 0.5"A$ 534.12
K25-441/5JAdjustable2.25"0.001"0 to 0.5"A$ 543.64
L25-881JAdjustable2.25"0.01mm0 to 25mmA$ 630.98
M25-481JLock2 1/4"0.01mm0 to 10mmA$ 642.07
STARRETT -

Lug Back Dial Indicator

StyleModelDial SizeRangeTotal RangePrice (inc. GST)
A655-3041J2.75"0 to 3"3"A$ 1381.72
B656-5041J3.625"0 to 5"5"A$ 2007.59
STARRETT -

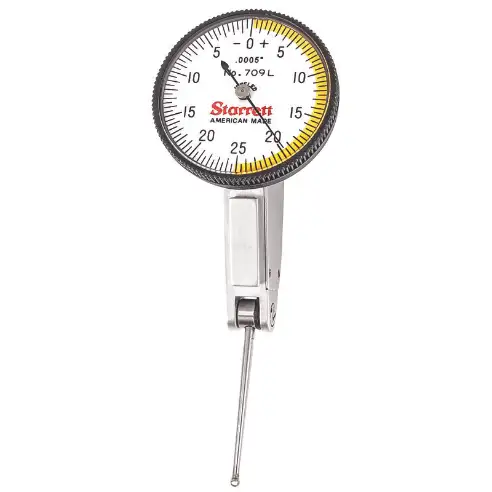
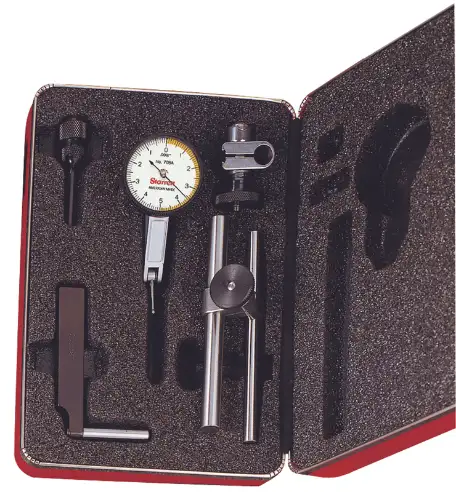
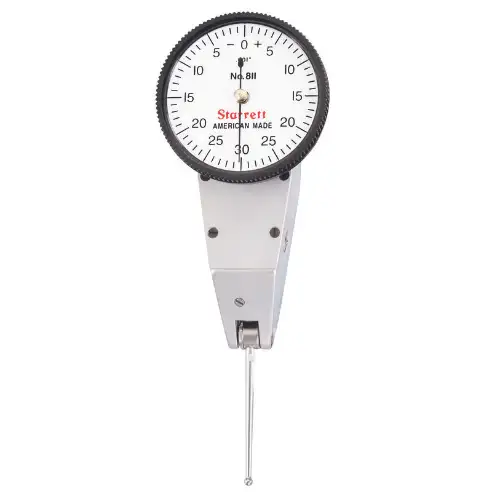
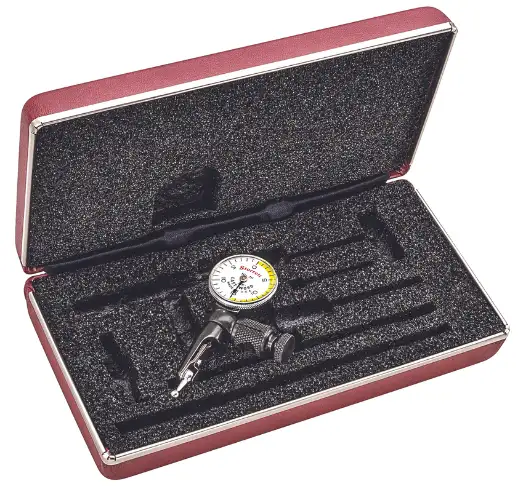
Tilted Face Dial Test Indicator

StyleModelDial SizeGraduationsIncludesRangePrice (inc. GST)
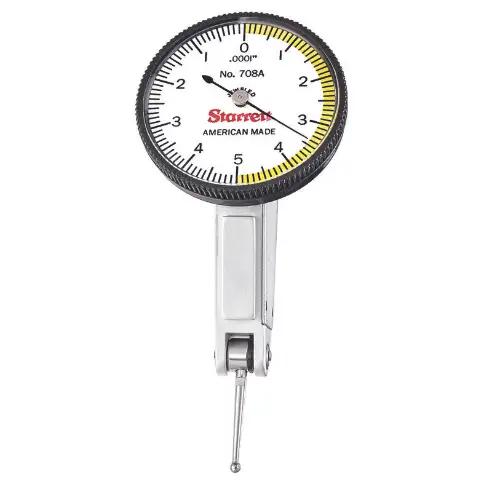
A708AZ1.5"0.0001"Not Included0.010"A$ 988.89
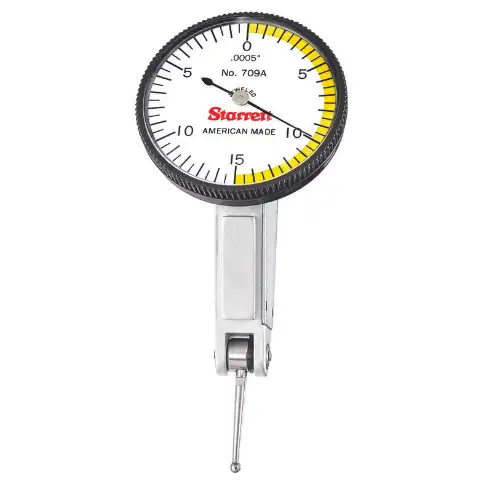
B709AZ1.5"0.0005"Not Included0.030"A$ 856.53
C708ACZ1.5"0.0001"Dovetail Mount0.010"A$ 1284.10
D709ACZ1.5"0.0005"Dovetail Mount0.030"A$ 1031.22
E709BCZ1.375"0.0005"Dovetail Mount0.060"A$ 1195.24
F709BZ1.375"0.001"Not Included0.060"A$ 1040.55
STARRETT -

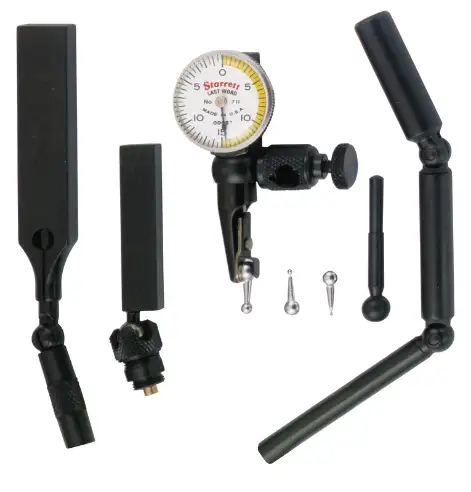
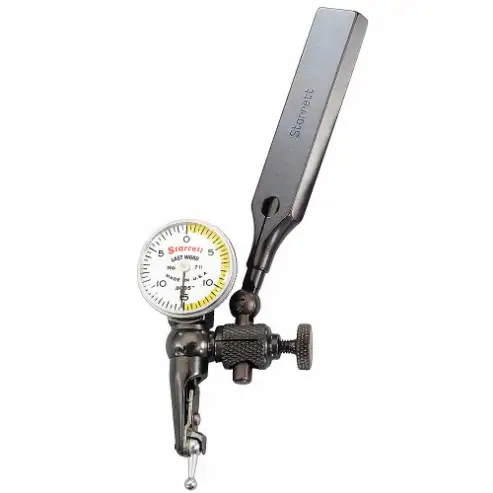
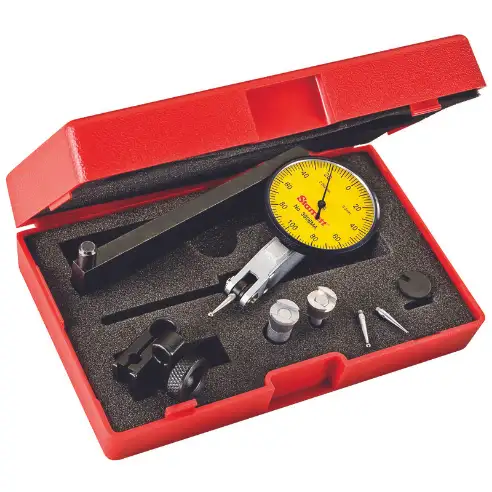
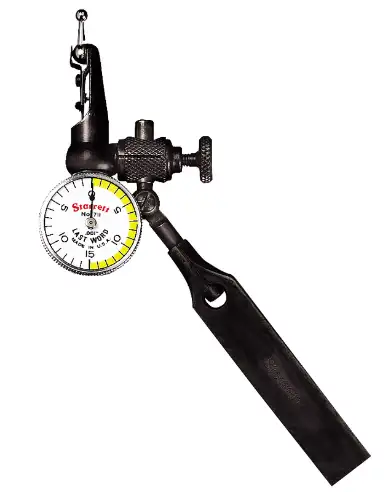
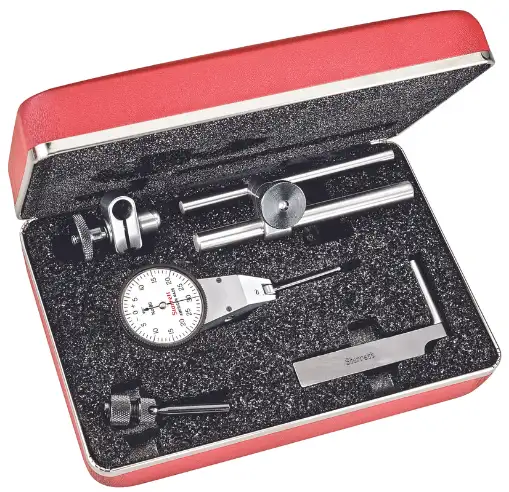
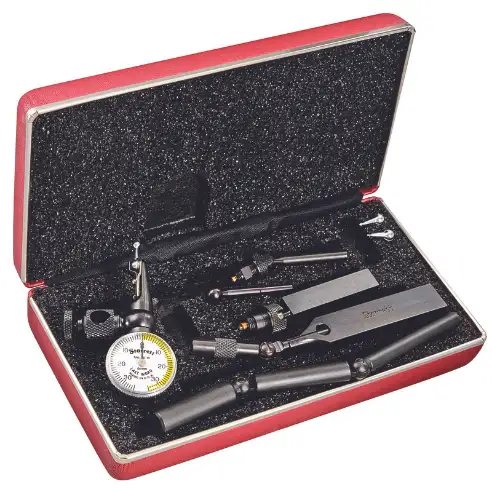
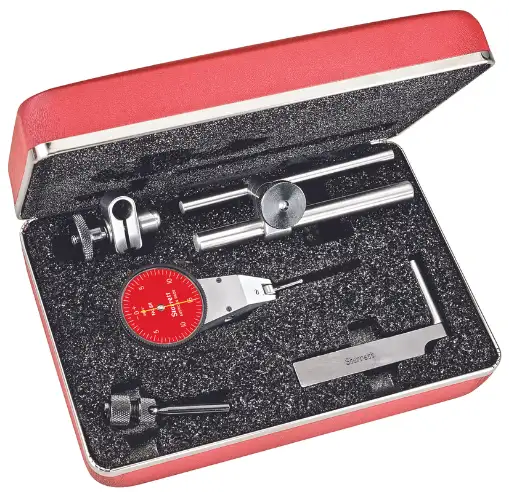
711 Series Last Word Dial Test Indicators with Cases

StyleModelDial SizeGraduationsIncludesPrice (inc. GST)
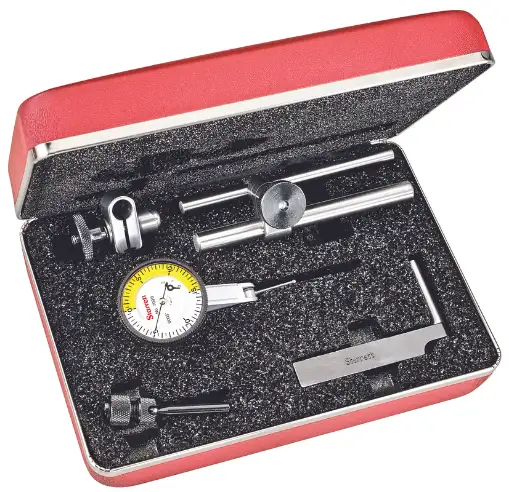
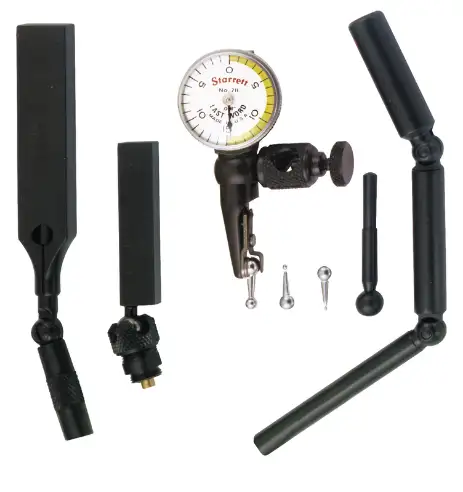
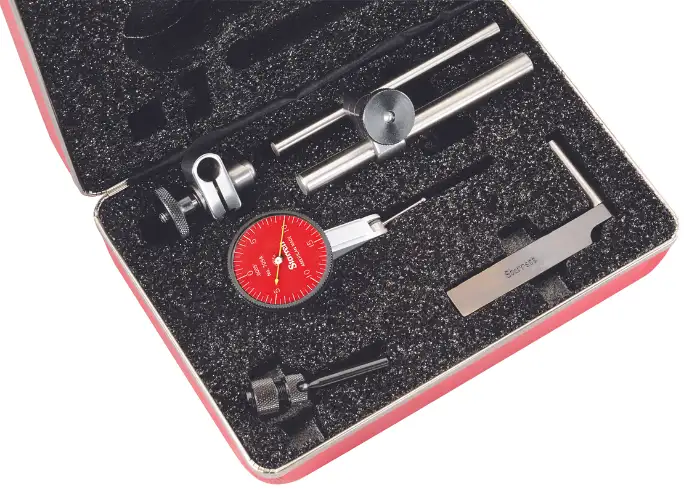
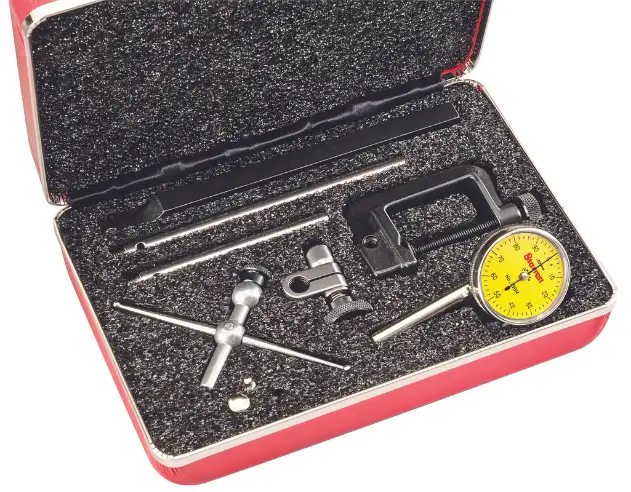
A711GCSZ1"0.001"Indicator Complete with All AttachmentsA$ 805.69
B711LCSZ1"0.0005"Indicator Complete with All AttachmentsA$ 885.73
C711HSAZ1.5"0.0005"Indicator with Universal Shank, Long and Short Arm, Body ClampA$ 569.18
STARRETT -

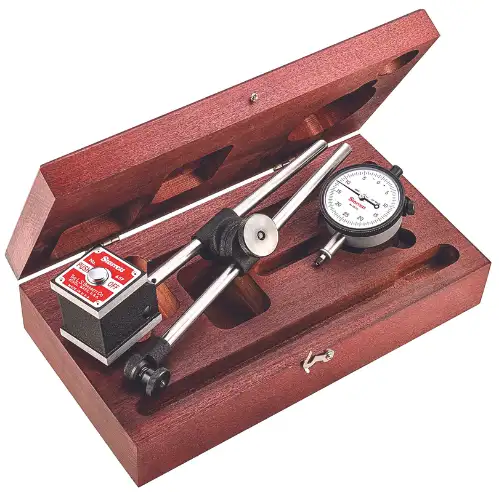
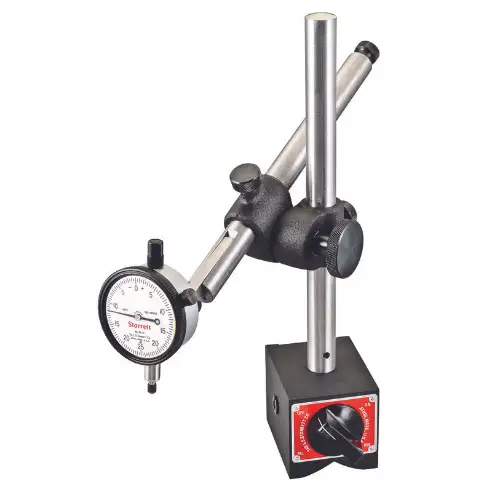
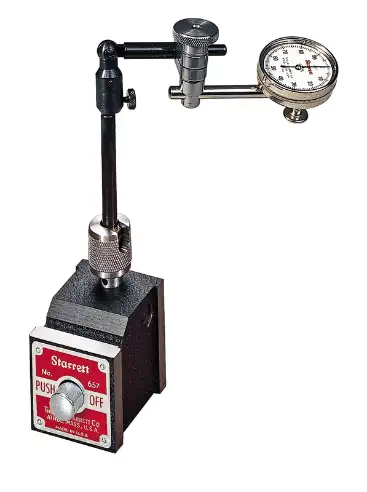
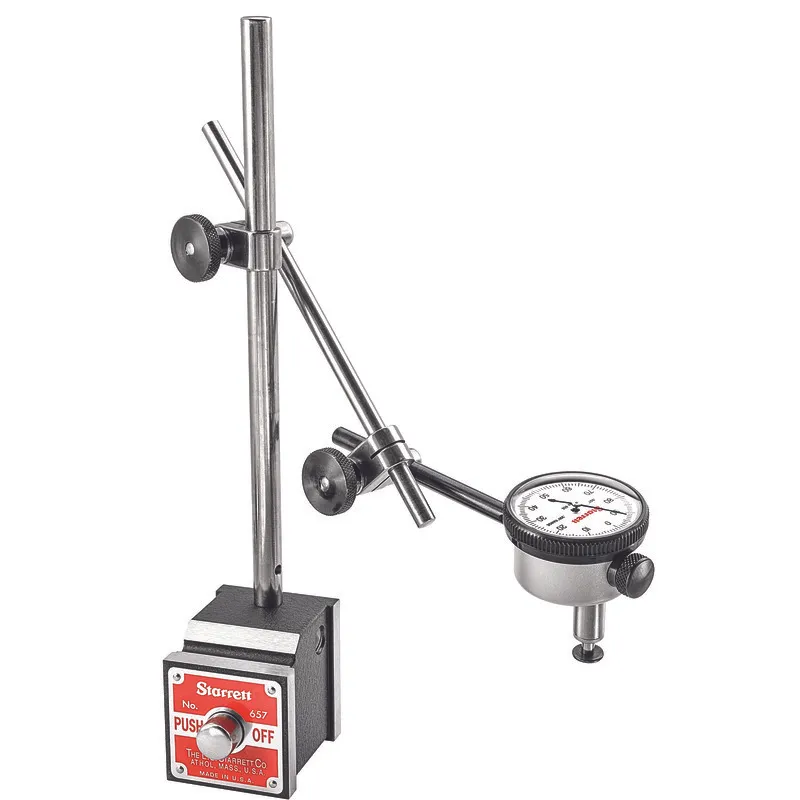
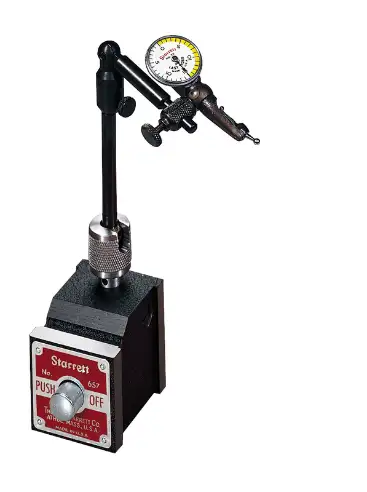
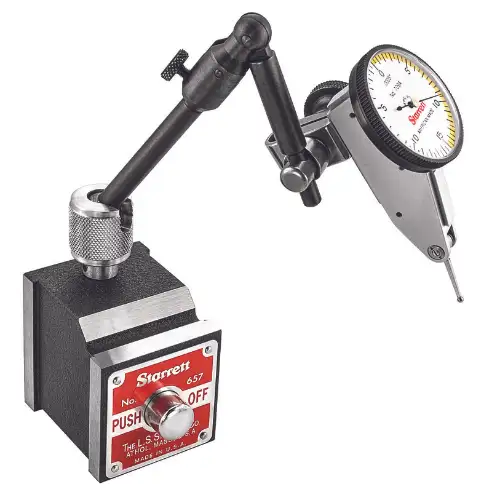
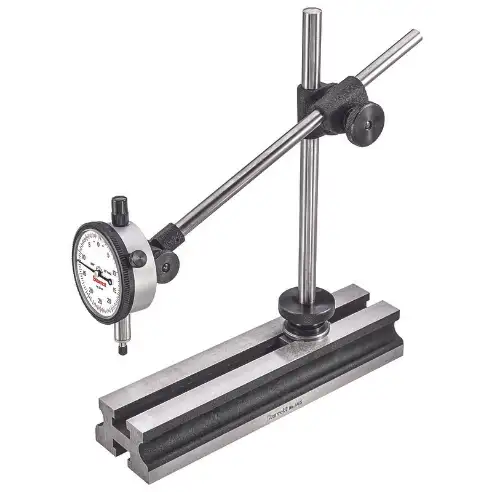
Dial Indicator With Magnetic Base

StyleModelBase SizeGraduationsItemPrice (inc. GST)
A657EZ1 15/16 W x 1 5/8 D x 1 7/8 H0.005"Indicator with Magnetic BaseA$ 1533.18
B659BZ2 1/2 W x 3 D x 2 1/8 H0.0005"Indicator with Magnetic HolderA$ 2831.96
STARRETT -

Dial Indicators

StyleModelPrice (inc. GST)
A657CA$ 1153.37
B657-650ZA$ 1933.09
C657EA$ 1238.98
D655-441JA$ 662.86
E657BA$ 1264.95
F657-709ZA$ 1417.88
G657-811ZA$ 2001.37
H657BZA$ 1446.04
I665JZA$ 2127.70
J657CZA$ 1362.38
STARRETT -

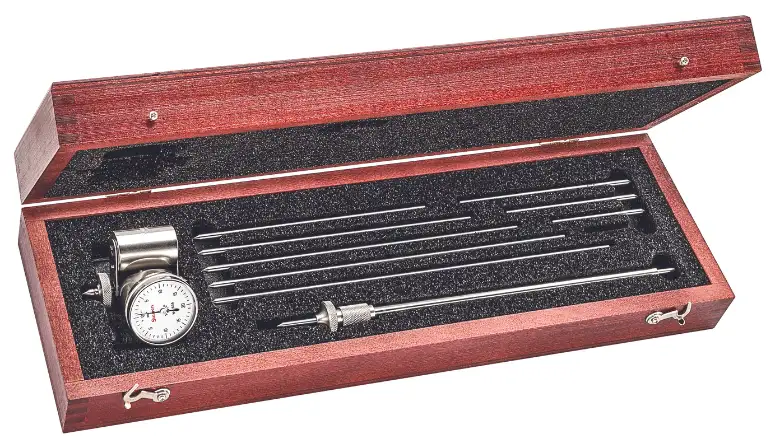
Spindle Squares

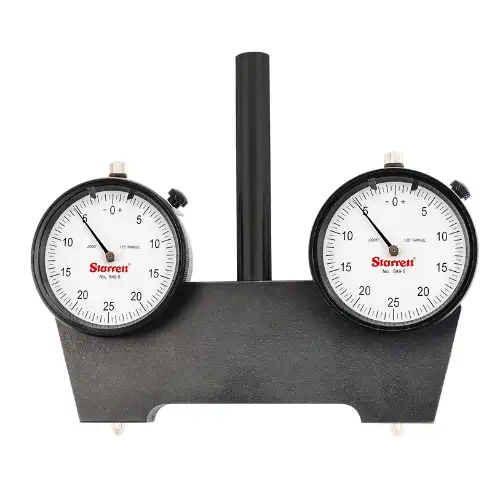
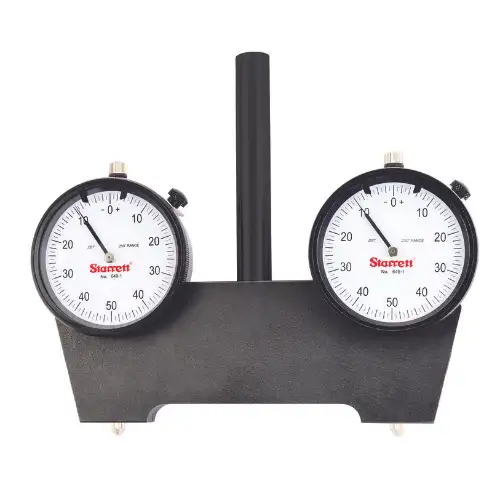
Starrett 649 Series spindle squares offer convenience & accuracy while tramming the head of vertical milling machines. These spindle squares are easier to use and more precise as compared to conventional methods of tramming using dial test indicators. They ensure perpendicularity and squareness between the work surface & spindle, and come fully assembled with two AGD Group 2 dial indicators. These devices feature solid steel construction with black oxide finish for corrosion resistance and long service life. Variants are available in graduations of 0.0005 and 0.001 inches.

StyleModelGraduationsPrice (inc. GST)
A649-50.0005"A$ 642.81
B649-10.001"A$ 605.66
STARRETT -

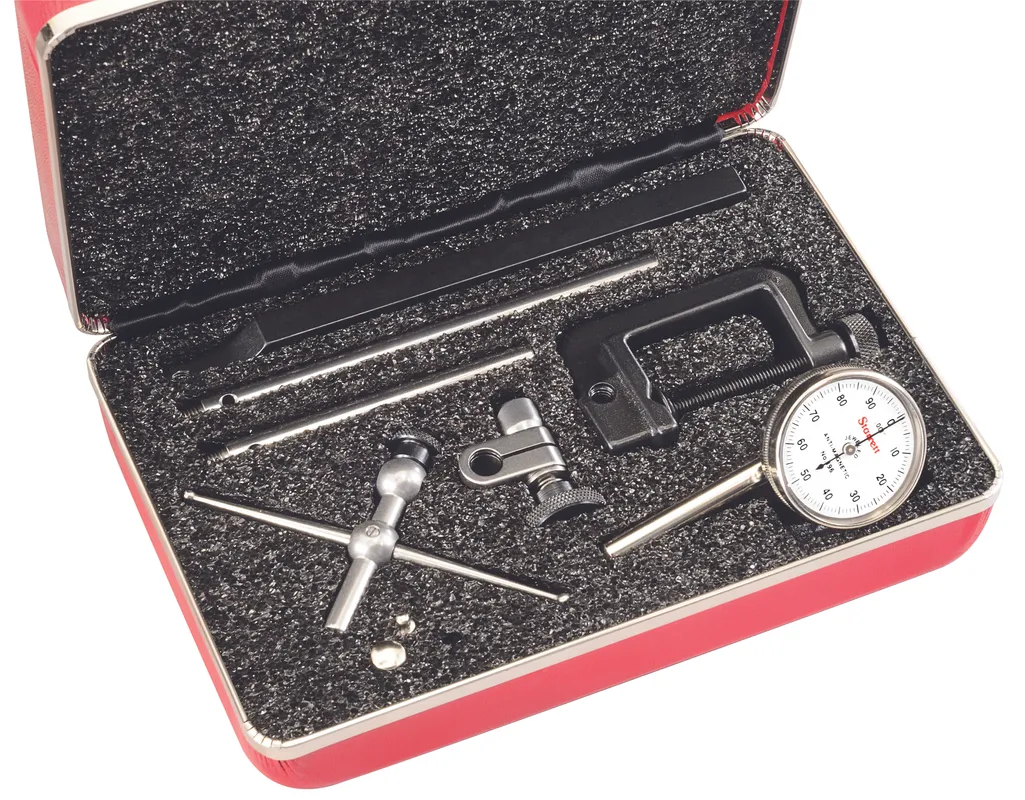
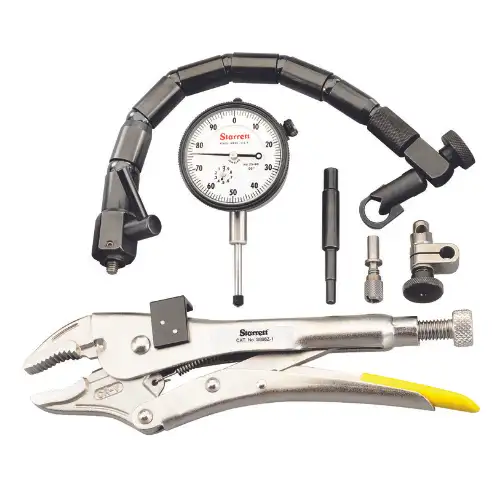
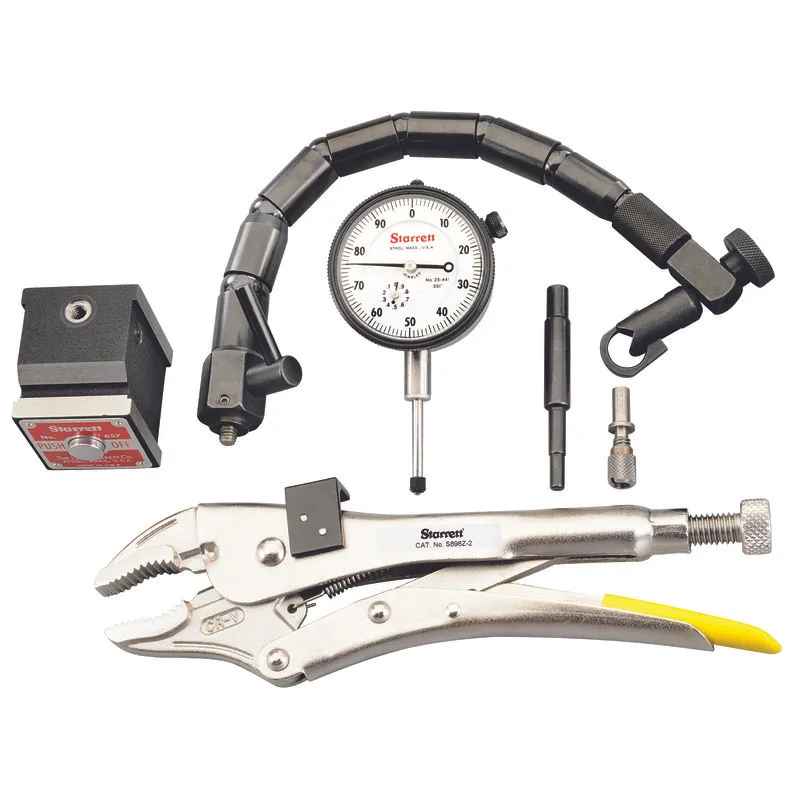
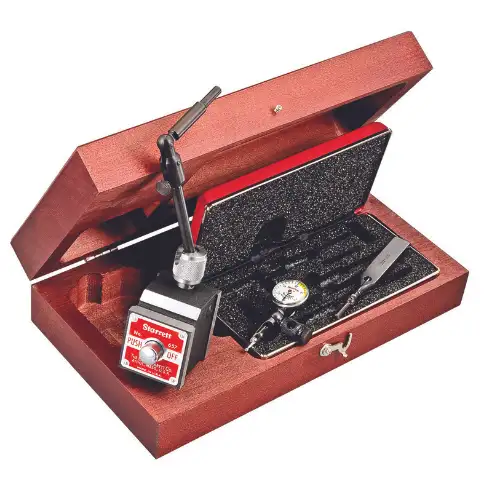
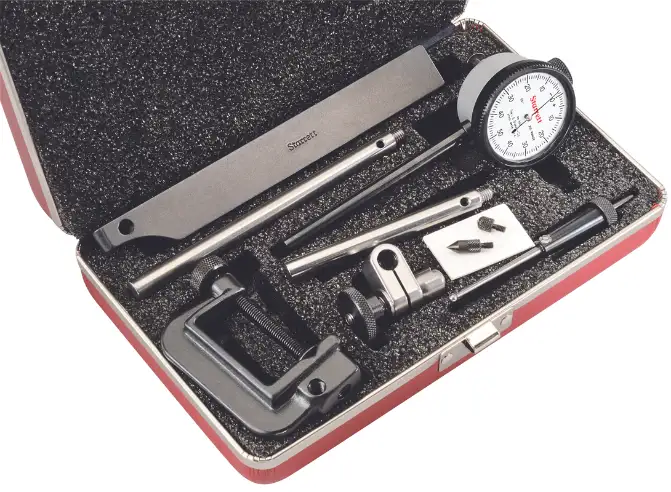
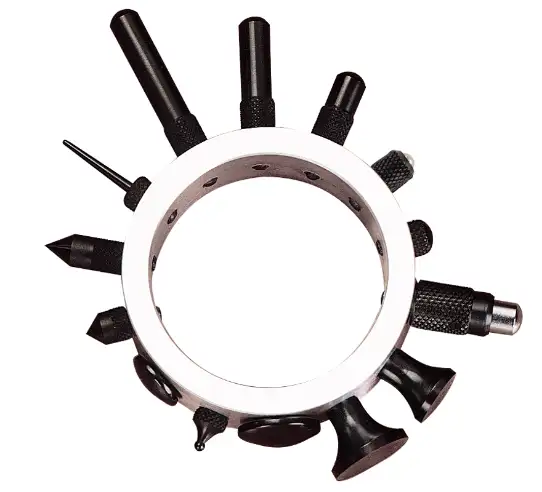
Indicator Inspection Kit

StyleModelMagnetic BasePrice (inc. GST)
AS898Z-1NoA$ 945.16
BS898Z-2YesA$ 1112.61
STARRETT -

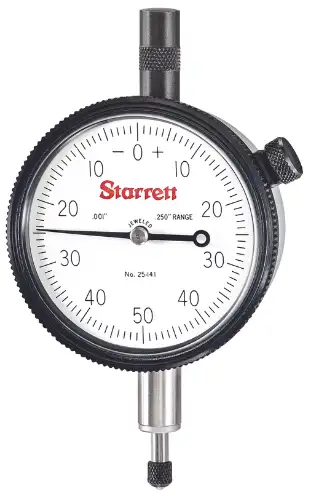
25 Series Dial Indicators, 0 to 1 Inch

StyleModelGraduationsIncludesPrice (inc. GST)
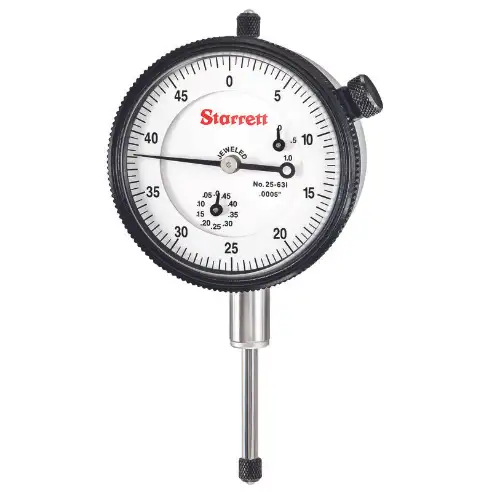
A25-631J0.0005"N/AA$ 604.38
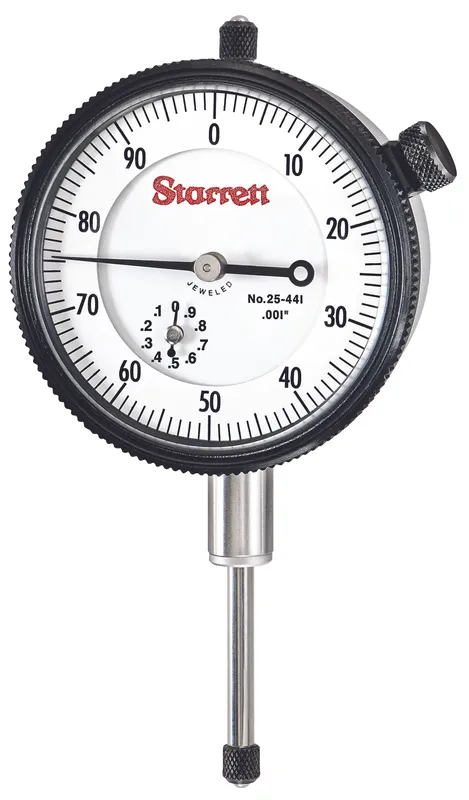
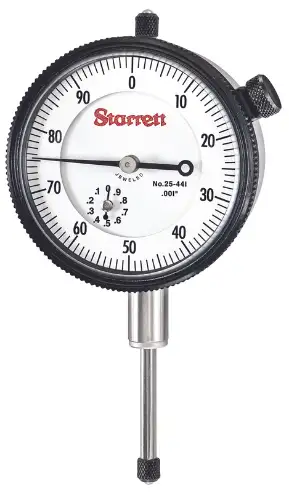
B25-441J0.001"N/AA$ 474.71
C25-441J W/SLC0.001"Standard Letter of Certification (SLC)A$ 567.74
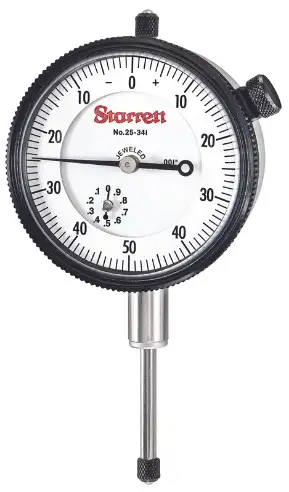
D25-341J0.001"N/AA$ 522.54
STARRETT -

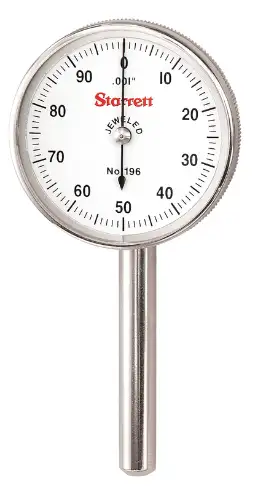
Back Plunger Dial Indicator

StyleModelBearing TypeDial SizeIncludesItemPrice (inc. GST)
A196A5ZJeweled1.5"Indicator with 3 Contact Points, Adaptor, 4 Attachments in CaseDial Test IndicatorA$ 850.55
B196B5Jeweled1.5"Indicator with 3 Contact Points and Adaptor OnlyDial Test IndicatorA$ 521.70
C196A6ZJeweled1.375"Antimagnetic Indicator with 3 Contact Points, 4 Attachments in CaseDial IndicatorA$ 970.35
D650A1ZJeweled1.45"Indicator with 3 Contact Points, 3 Attachments in CaseDial IndicatorA$ 1296.44
E196A1ZPlain1.5"Indicator with 3 Contact Points, Adaptor, 4 Attachments in CaseDial Test IndicatorA$ 880.68
F196B1Plain1.5"Indicator with 3 Contact Points and Adaptor OnlyDial Test IndicatorA$ 466.77
G196B6Plain1.45"Antimagnetic Indicator with 3 Contact Points OnlyDial IndicatorA$ 651.96
STARRETT -

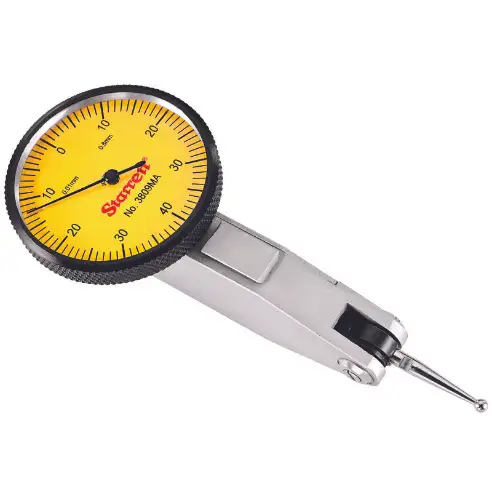
Dial Test Indicators

StyleModelPrice (inc. GST)
A709ALZA$ 837.27
B3809ACA$ 450.23
C3809MAA$ 314.92
D3809MACA$ 458.68
E3908MACA$ 723.56
F3908MAA$ 535.78
G3808MAA$ 494.52
H3808MACA$ 687.20
I3809AA$ 308.41
J709ALCZA$ 924.02
K3808AA$ 458.34
L3908AA$ 508.21
M3808ACA$ 666.96
N650A5ZA$ 1339.77
O711FSAZA$ 643.40
P708ACZ W/SLCA$ 1177.56
QR709ACZA$ 919.54
R3909MAA$ 356.26
STARRETT -

Lugs

StyleModelPrice (inc. GST)
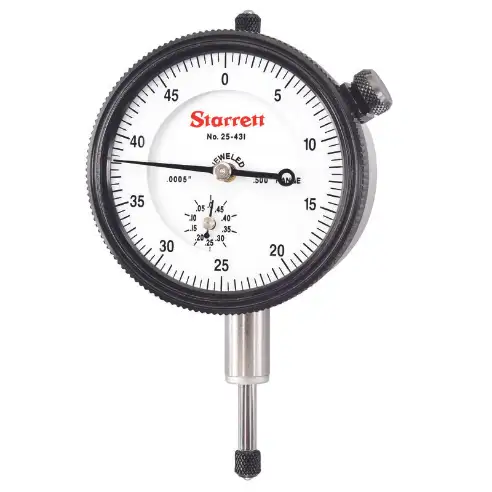
A25-431JA$ 615.80
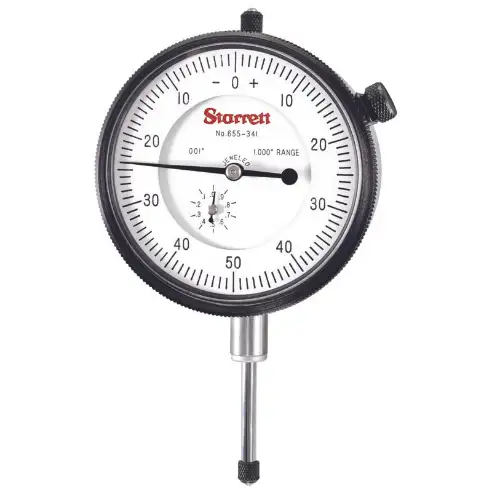
B655-341JA$ 599.93
C656-441JA$ 847.07
D656-12041JA$ 4885.90
E656-6041JA$ 2148.00
F81-136-622JA$ 558.31
G25-381JA$ 751.89
H25-5041JA$ 1888.01
STARRETT -

Swivels

StyleModelPrice (inc. GST)
A711HSZA$ 573.04
B811-1PZA$ 1416.04
C811-1CZA$ 1688.11
D711MGCSZA$ 784.33
E708BCZA$ 1332.24
STARRETT -

Indicator Dialch to 0.025 Inch Range, Balanced Reading, 0-5-0 Dial Reading

ModelItemPrice (inc. GST)
25-111JCU4NPDA$ 958.28
STARRETT -

Dial Indicator For AD2NJW 0.000020 In

ModelItemPrice (inc. GST)
81850AF2CQFA$ 3269.69
STARRETT -

Universal Dial Test Indicator

ModelItemPrice (inc. GST)
196MA1ZAH2GKZA$ 799.59
STARRETT -

Indicators Set Of 3

ModelItemPrice (inc. GST)
S253ZAH2GLCA$ 2245.60
STARRETT -

Back Plunger Dial Indicator, 0 to 2.5 mm Range, Continuous Reading, 0-100 Dial Reading

ModelItemPrice (inc. GST)
196MB1CU4MXZA$ 579.55
STARRETT -

Dial Indicator - Lug Back, 0 Inch To 0.1 Inch Range, Balanced Reading, 0-20-0 Dial Reading

ModelItemPrice (inc. GST)
80-144JCU4NQJA$ 844.43
STARRETT -

Crankshaft Distortion Dial/Strain Gage, With Balancing Attachement, 2-3/8 to 18 Inch Range

ModelItemPrice (inc. GST)
696ZAE9XBDA$ 1874.87
STARRETT -

Test Indicator 1.375 Diameter 0.0005 In

ModelItemPrice (inc. GST)
811-5CZAC4GZEA$ 1566.62
12

Features

  • These indicators feature adjustable bezels for a positive grip and provide a balanced dial up to 4 inches.
  • They come equipped with plain / jewelled bearings for low friction & superior precision and have satin chrome finish to ensure easy cleaning & corrosion resistance.
  • These dial indicators feature a continuous reading dial that means the graduations decrease or increase in only one direction from the reference point.
  • The pressure needed on the measuring head to secure zero reading must remain continuous over the complete range.

Working Mechanism

  • Starrett dial indicators work on the mechanism that a little upward pressure on the spindle at the contact point is amplified through a system of levers and gears.
  • These dial indicators have a round graduated dial and a contact point attached with a spiral or gear train so that the hand on the dial face reflects the portion of the movement of the contact point.
  • They are used with a broad range of standard measuring equipment like dial box gauges, portal dial, hand gauges, dial depth gauges, diameter gauges and dial indicator snap gauges.
  • They correspond to a spindle movement of 1 mm. The movement mechanism of the instrument is enclosed in a metal case for its safety. The large dial scale is graduated into 100 divisions and the indicator is set to zero using slip gauges.

Frequently Asked Questions

What is a dial drop indicator?

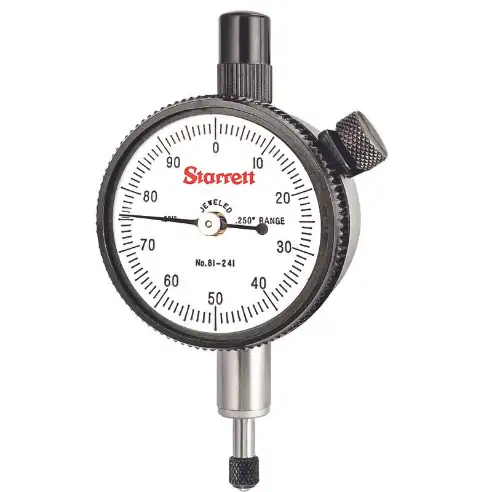
Starrett dial drop indicators, also known as plunger-style dial indicators, come with a dial face attached to a stem with a contact point on the end. When the contact point meets the workpiece, the up-and-down motion of the plunger is increased on the graduated dial face.

What are the different parts of a Starrett dial indicator?

Some of the major parts of dial indicators are a dial consolidated on the main scale, the plunger, locking screw or locknut, mini dial that indicates the number of revolutions and magnification mechanism.

What are the two basic types of dial indicators?

The two basic types of indicator dials are balanced and continuous. To use one or the other is usually decided by the gauge and the range of the indicator. However, in general, if the resistances are reciprocal, like +/- 0.001 inches, the balanced dial is used.

What kind of measurements are Starrett dial indicators employed for?

Starrett dial indicators are one of the main measuring tools used in precision engine building. These dial indicators are suitable for measuring crankshaft thrust, deck clearances and other measurements that need the distance between two surfaces.

How are Starrett dial indicators different from dial test indicators?

Starrett test indicators are quite distinct from dial indicators. The most notable difference is that dial indicators have plunger-type contacts. Whereas the test indicators feature lever-type contacts while they are also smaller and lighter in comparison to dial indicators.

Where are Starrett dial indicators manufactured?

Starrett has been manufacturing tools in the United States, having its headquarters in Athol, Massachusetts.

What is the range of dial indicators?

Starrett dial indicators usually range from 0.25 mm to 300 mm, with graduations of 0.001 mm to 0.01 mm (metric) or 0.00005 to 0.001 inches.

What are the guidelines for the proper use of Starrett dial indicators?

To make sure the indicator hand can move freely, it should be able to move to its total capacity and the zero ends of the scale in one fluid movement. Some of the guidelines are as follow

  • Do ensure you use your indicator correctly by securely affixing it to the holding device.
  • Do use your dial indicator often to prevent the spindle from sticking.
  • Do ensure you keep your dial indicators stored away correctly in a dry place and try to keep them covered to minimize dust and moisture getting into the dial.
  • Clean the dial with hot soapy water and try to keep the dial clean and dry at all times.
  • How do you adjust a Starrett dial indicator?

    Lift the plunger and slip a 0.020-inch gauge block underneath. Drop the plunger onto the surface of the gauge block. Inspect that the indicator reads 0.020-inch. Then, lift and lower the plunger two more times to check that the dial indicator provides the same measurement in the exact spot constantly.

    We are here to help!

    Looking for a part not listed here?